Photoshop怎么去除图片反光_Photoshop去除图片反光流程分享
时间:2020-08-05 11:56:36 责任编辑:花泽香菇

有很多朋友还不会使用Photoshop去除图片反光,所以下面小编就讲解了使用Photoshop去除图片反光的操作过程,来下文看一看吧。

打开Photoshop软件,导入一张需要处理的图片,复制图层,

Photoshop相关攻略推荐:
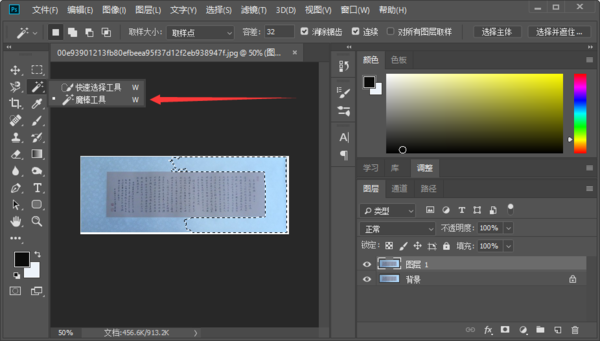
在左侧工具栏中点击【魔棒工具】,选中反光区域,在菜单栏中点击【选择】——【修改】——【羽化】,2像素,如图,
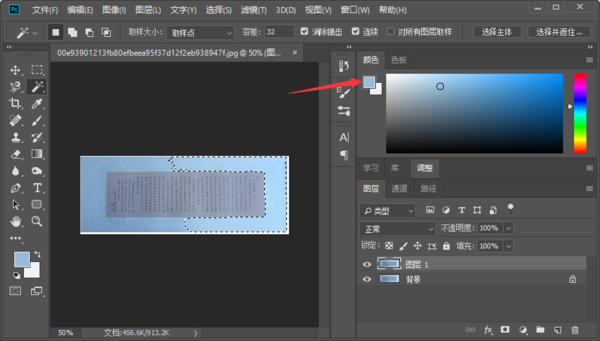
然后选择前景色,选择反光选定区域外最接近颜色,如图,
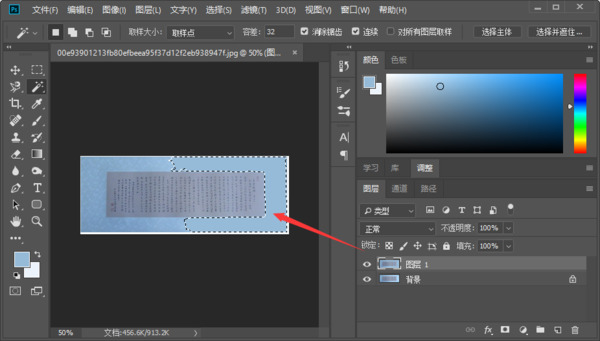
按快捷键【Alt+delete】,填充前景色,如图,
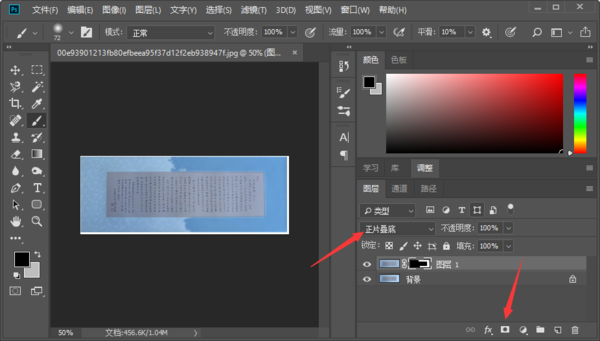
新建图层蒙版,用黑色画笔在非反光区涂抹,修改图层模式为【正片叠底】,如图,
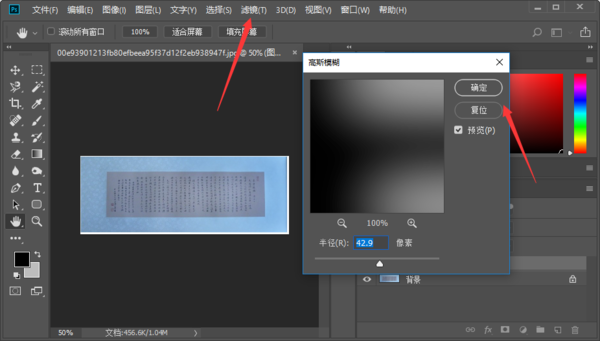
在菜单栏中点击【滤镜】——【模糊】——【高斯模糊】,弹出窗口,进行如图设置,点击确定。
上文就讲解了Photoshop去除图片反光的具体操作过程,希望有需要的朋友都来学习哦。


