使用Photoshop快速提取图片颜色的具体操作方法
时间:2020-08-05 11:35:44 责任编辑:tintin

想要快速提取图片上颜色的用户,可以试试Photoshop这款软件,在此就为大伙呈现了使用Photoshop快速提取图片颜色的具体操作方法。

打开Photoshop软件,导入一张图片素材,点击菜单栏的滤镜——像素化——马赛克,
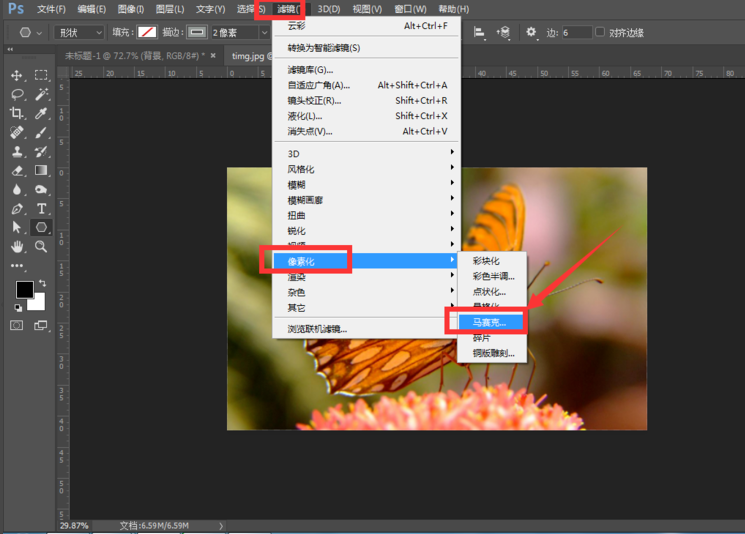
弹出面板,我们可以看到马赛克效果就是由一个一个的小方格组成的,
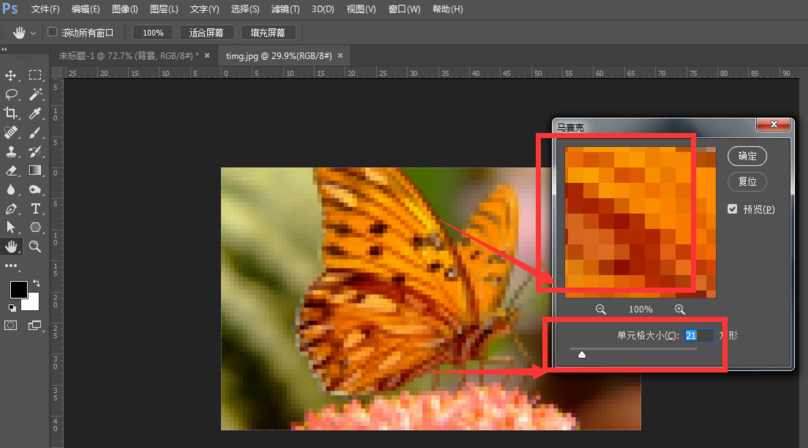
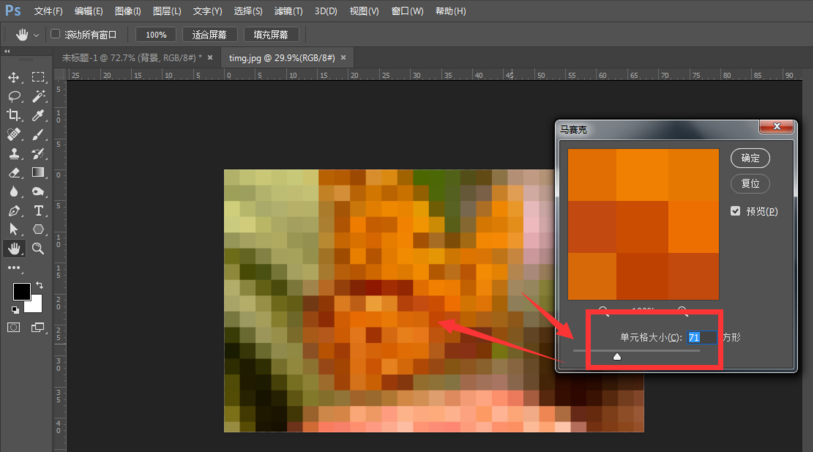
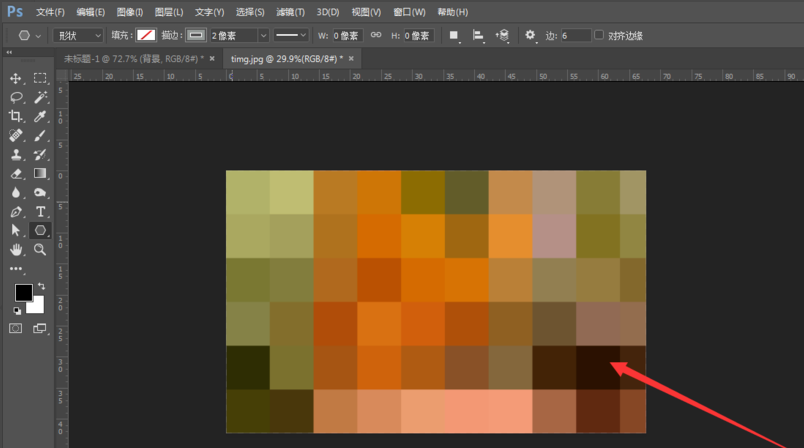
然后将数值慢慢调大,我们可以看到图片已经变成一个一个的色块,现在可以利用这些色块作为颜色来搭配元素,
如果你觉得颜色太多、无从选择,就将马赛克调到最大,然后看看图片中剩下哪几种颜色,从中挑选即可,
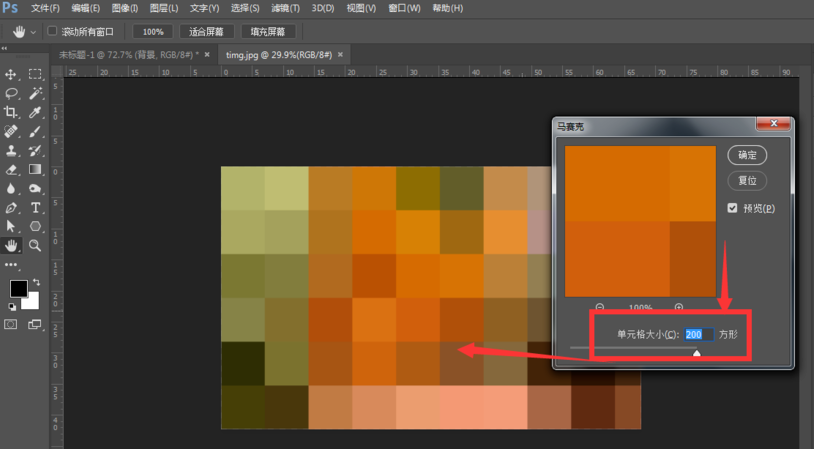
最后就是一张色卡了,如果你有需要,可以将其进行保存。
根据以上为你们呈现的使用Photoshop快速提取图片颜色的具体操作方法,你们自己也赶紧去提取试试吧!


