PS如何编辑智能对象_PS编辑智能对象流程详解
时间:2020-08-05 12:00:30 责任编辑:zyq

现在部分网友还不了解,那么在使用PS的过程里,如何编辑智能对象的呢?这里带给大家PS编辑智能对象的操作教程。

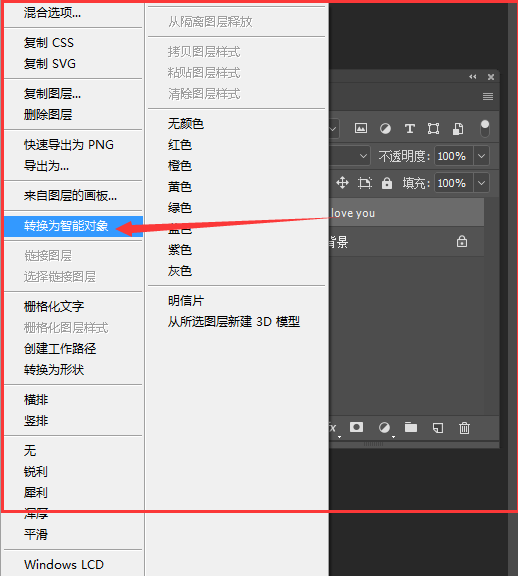
1、创建一个文字图层,因为这是一个简单的演示,所以就不以效果为主,主要是为各位展示智能对象的功能;

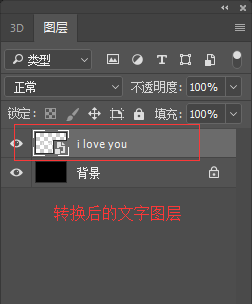
2、选择图层中的文字图层,右击选中【转换为智能对象】,转换后的效果如图;
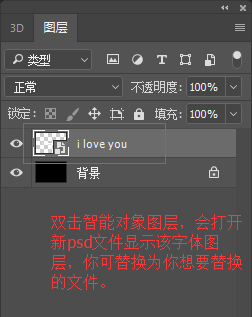
3、双击智能对象打开图层,会出现一个新的psd文件;
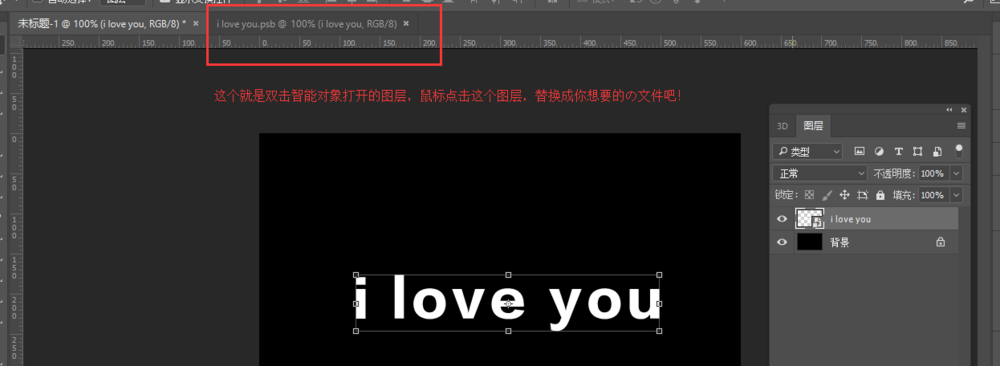
4、将打开后的文字图层用文字工具更改成你想要的文字;
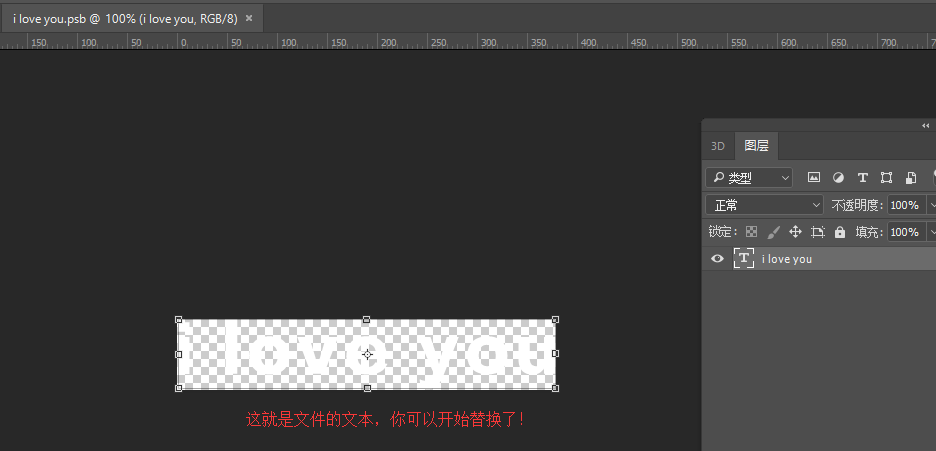


5、保存更改后的图层后点击原文件查看效果吧;
PS相关攻略推荐:

各位小伙伴们,看完上面的精彩内容,都清楚方法了吧!


