ps怎么打造唯美星空文字效果_ps打造唯美星空文字效果流程解析
时间:2020-08-05 11:57:46 责任编辑:花泽香菇

很多小伙伴使用Photoshop却还不会设置ps打造唯美星空文字效果,所以下面呢,小编就分享了ps打造唯美星空文字效果的操作教程,一起去看看吧,相信对大家会有帮助。

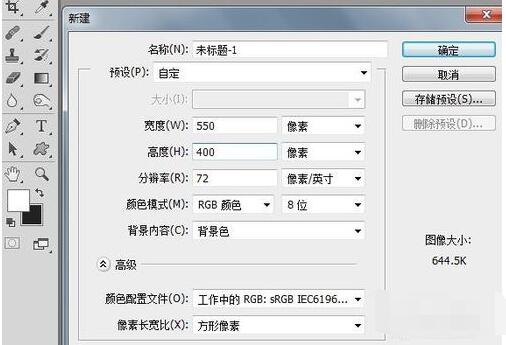
打开Photoshop,新建550x400像素,背景色深灰色,然后选着文字工具,字体颜色白色,输入best wishes for you
按ctrl+t调出自由变换工具,适当调整文字形状,适当倾斜些

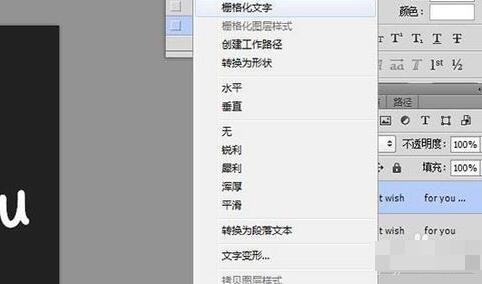
ctrl+j复制文字图层,然后右击——栅格化文字。
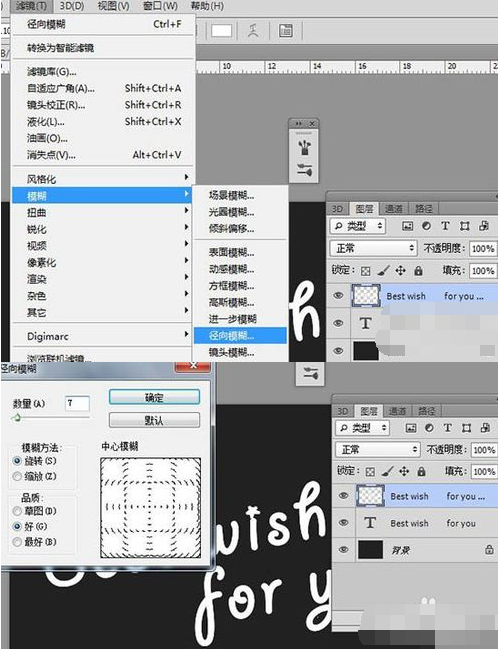
在该图层中执行滤镜——模糊——径向模糊,数字自定让文字模糊就可以,同时将原文字图层眼睛点掉。
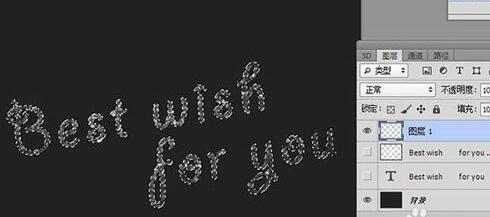
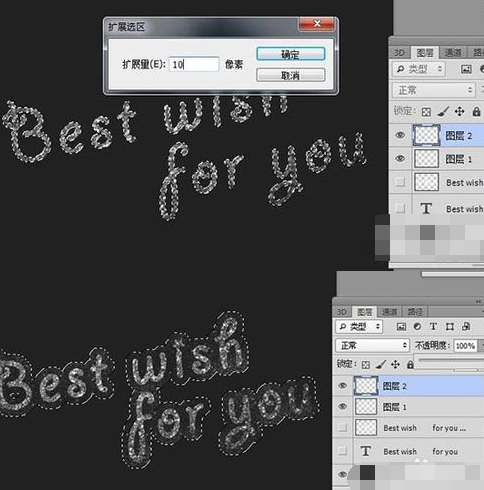
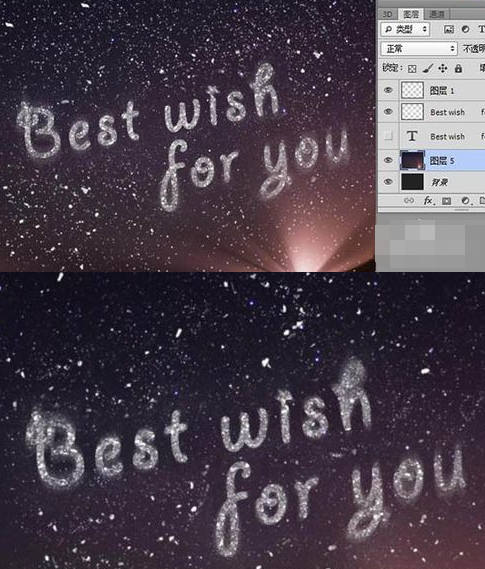
按ctrl点击最下面的文字图层,载入文字选区,新建图层1,然后点击画笔选中粉尘笔刷,没有的话可以自行百度下载,对文字选区进行涂抹,不用均匀,将之前的文字图层隐藏,如下图:
不要取消选区,选择——修改——扩展10像素,新建图层2,然后用更小的粉尘笔刷,涂抹扩展选区,不用全部涂抹。
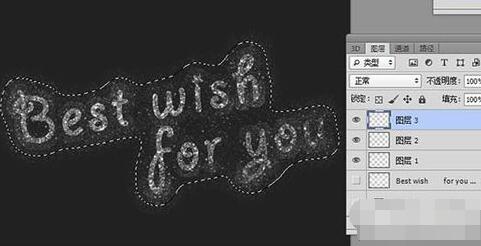
接着选择——修改——扩展10像素,然后选择——修改——羽化10像素,新建图层3,然后用更小的粉尘笔刷,涂抹扩展选区,不用全部涂抹,然后将图层2跟图层3透明度调到35%左右。
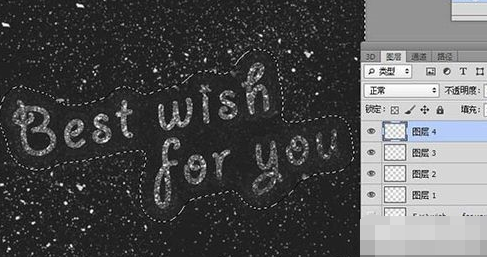
按ctrl+shif+i,反选区,新建图层4,用更大的粉尘笔刷涂抹选区,主要美感就可以哦!
把径向模糊的文字图层(如下图图层)透明度调低,大概30%左右。
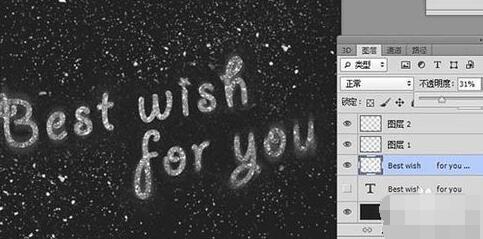
最后拉入星空图层素材,放置背景图层上方,这样就完成星空文字效果了。
以上这里为各位分享了ps打造唯美星空文字效果的图文操作内容。有需要的朋友赶快来看看本篇文章吧。


