Photoshop怎么设计字母标志_Photoshop设计字母标志方法一览
时间:2020-08-05 11:57:34 责任编辑:tintin

亲们或许不知道Photoshop设计字母标志的详细步骤介绍,那么今天小编就讲解Photoshop设计字母标志的详细步骤介绍的操作步骤哦,希望能够帮助到大家呢。

首先打开Photoshop软件,我们先绘制一个字母e的变形标志,一般来说,我们要取得一个极好的字母变形效果就要对于初使字体进行一定的选择,常规的字体比较容易变形。我们先选择好钢笔工具,把字母的形状描绘出来。一个字母可以有多个封闭路径组成,我们可以使用钢笔调整工具进行拉伸。
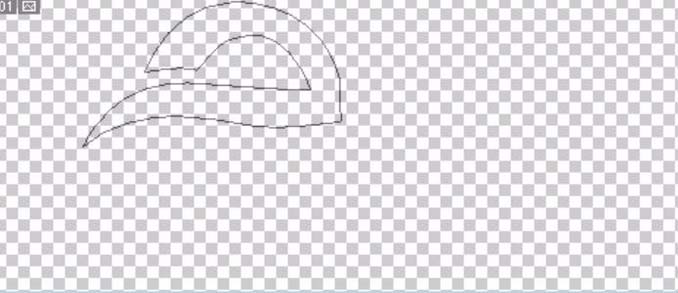
然后拉伸了字母e的上半部分之后,我们再绘制出字母e的下半部分,于是有了一个完整的字母路径,我们选择前景色为蓝色进行填充。
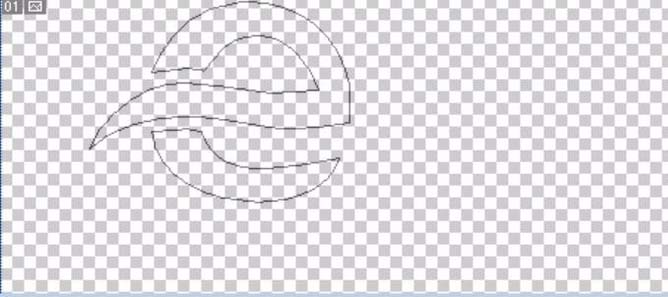
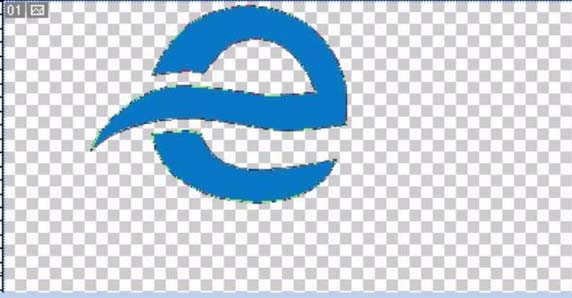
接着对于需要填充不同的颜色的路径,我们选择子路径。这里,我们对于字母e下面的路径填充一个红色。这个字母e的标志就完成了。接下来,我们制作第二个字母标志,一样也是先把它的外形的三个封闭路径绘制出来。

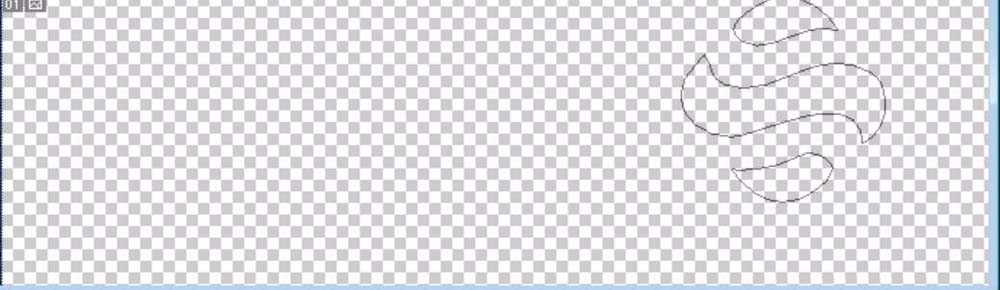
我们选择浅蓝色作为前景色,填充这三个封闭路径为一个完整的字母。
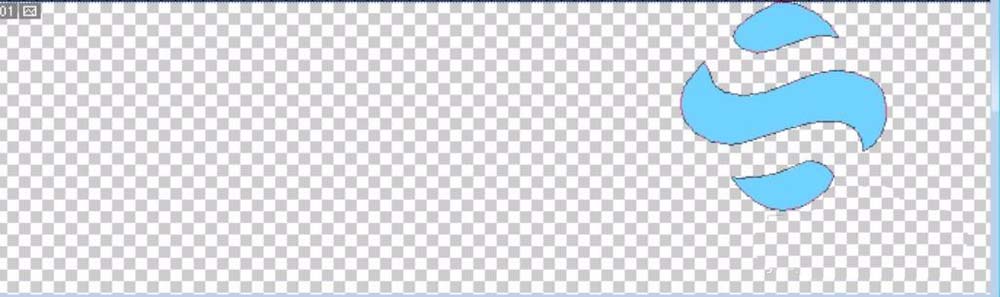
这时候为了让这个标志在视觉上更加的突出,我们在每一个封闭路径的旁边做出它的阴影路径。

最后我们选择阴影区子路径,我们填充一个深蓝色,这样我们就有了一个动感的字母标志。

上文讲解的Photoshop设计字母标志的详细步骤介绍,你们是不是都学会了呀!


