使用ps如何制作带有漂亮字体海报?_制作出带有漂亮字体海报的具体操作步骤
时间:2020-08-05 11:50:52 责任编辑:zyq

工作以及生活中都需要使用ps,那么你们了解使用ps如何制作带有漂亮字体海报吗?下文就带来了。

1、打开准备好的图片素材。
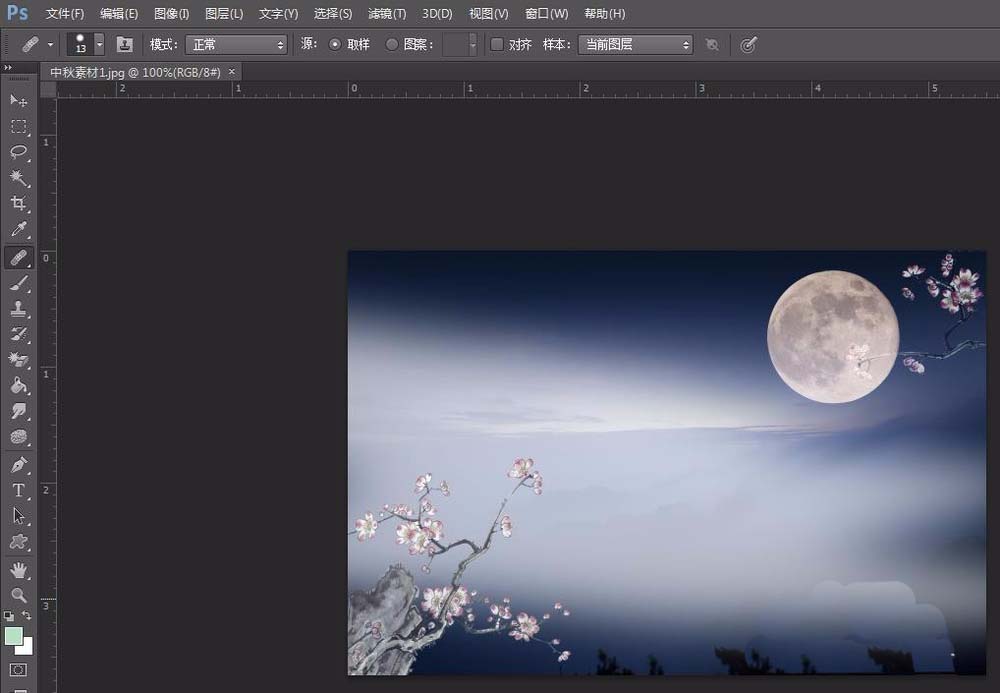
2、按Ctrl+J键复制背景图层。

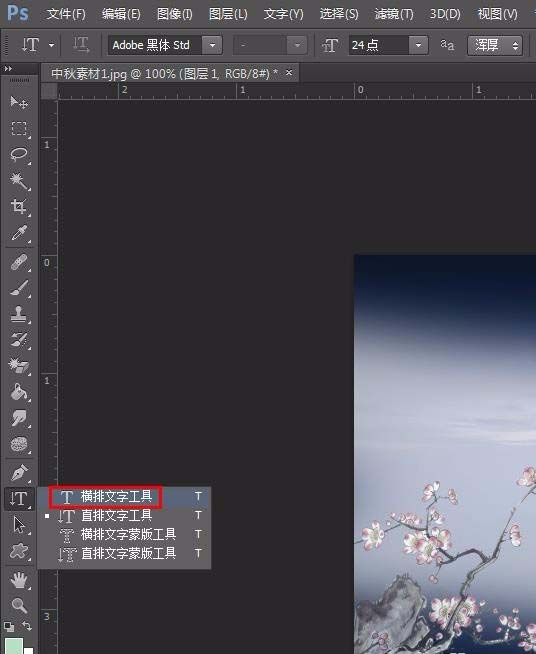
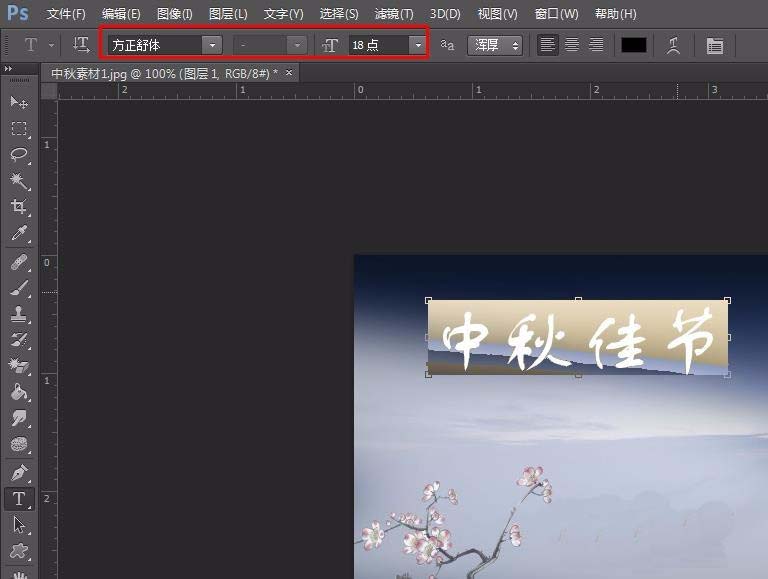
3、在左侧工具栏中选择“横排文字工具”,输入要展示的文字,并设置好字体和字号。
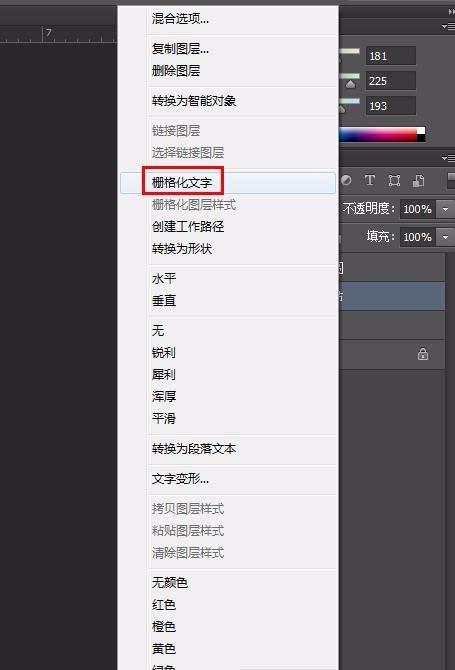
4、分别选中文字图层,单击鼠标右键选择“栅格化文字”。
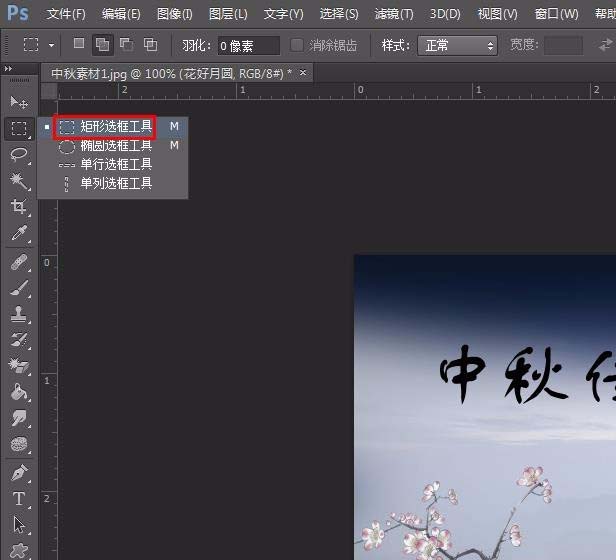
5、在左侧工具栏中选择“矩形选框工具”,选中要变换的文字。
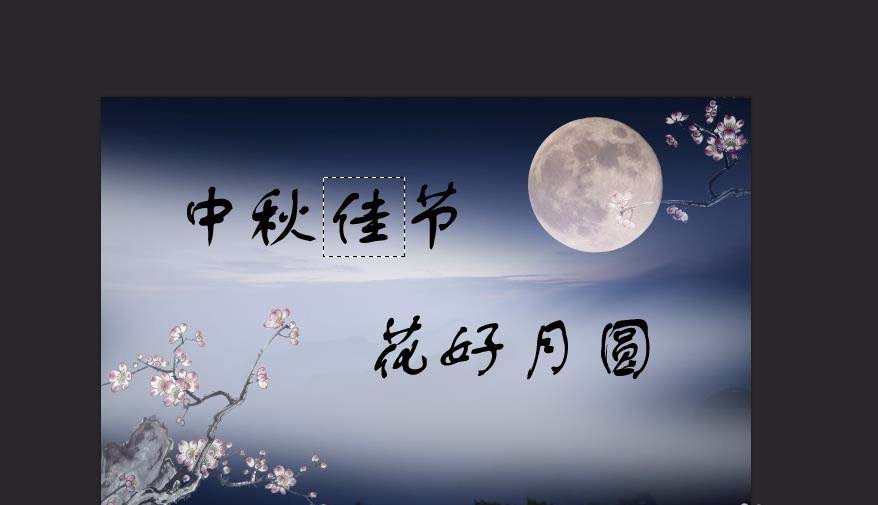
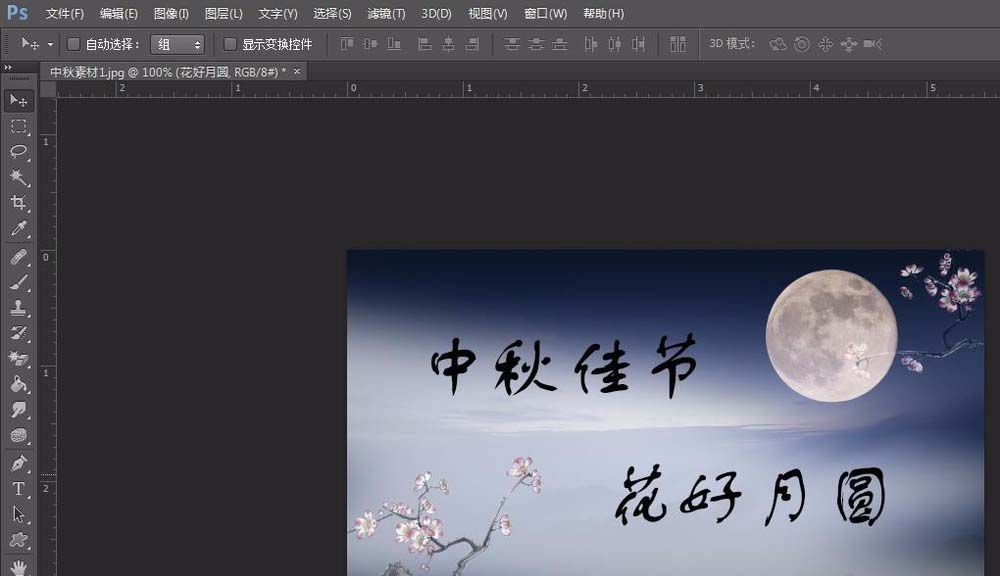
6、按Ctrl+T键使选中文字呈可以调节状态,按照自己的需要调整文字的形状、大小和位置,调整完成后单击“应用”按钮。
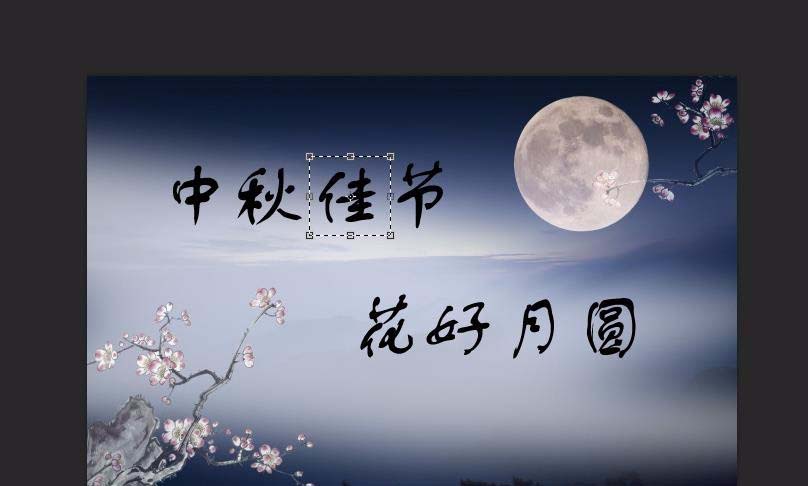

7、调整之后的文字如下图所示。
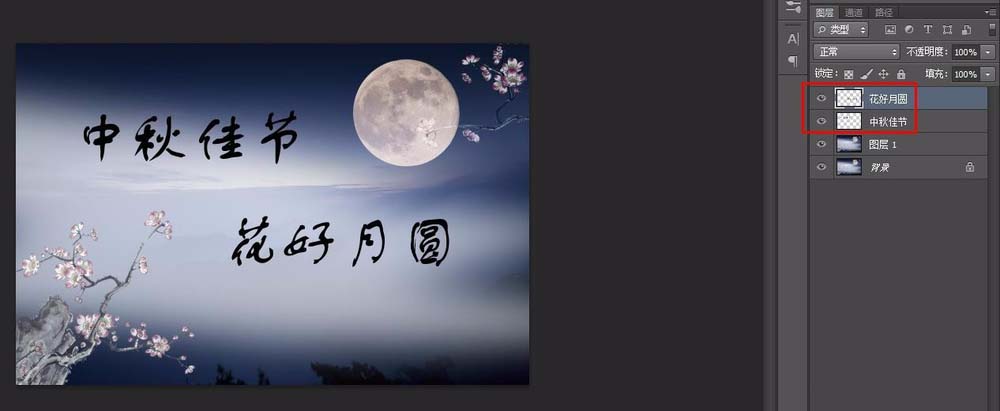
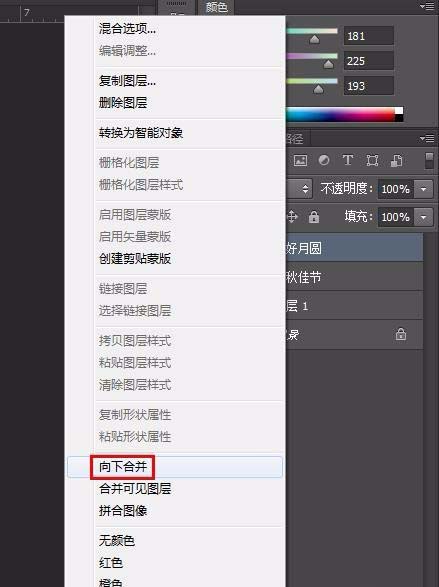
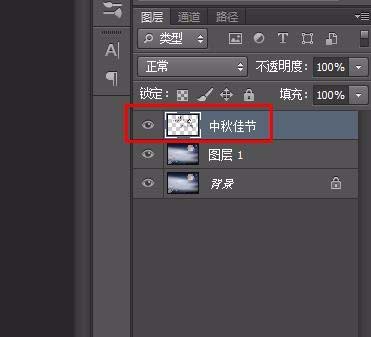
8、选中最上层的文字图层,单击鼠标右键选择“向下合并”,两个文字图层合并为一个。
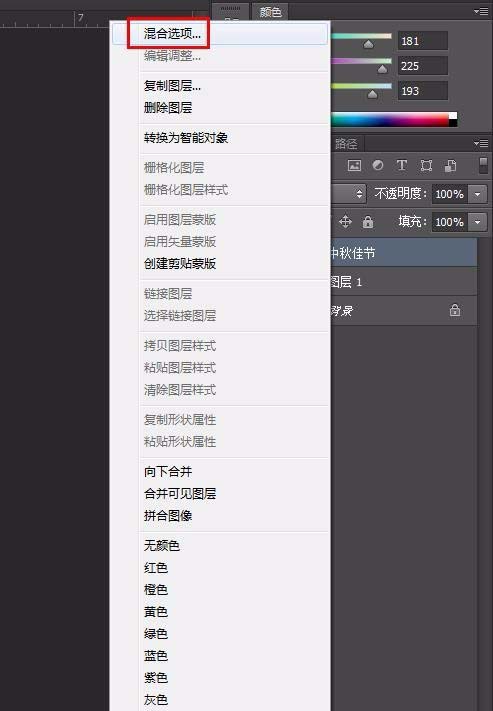
9、选中文字图层单击鼠标右键选择“混合选项”。
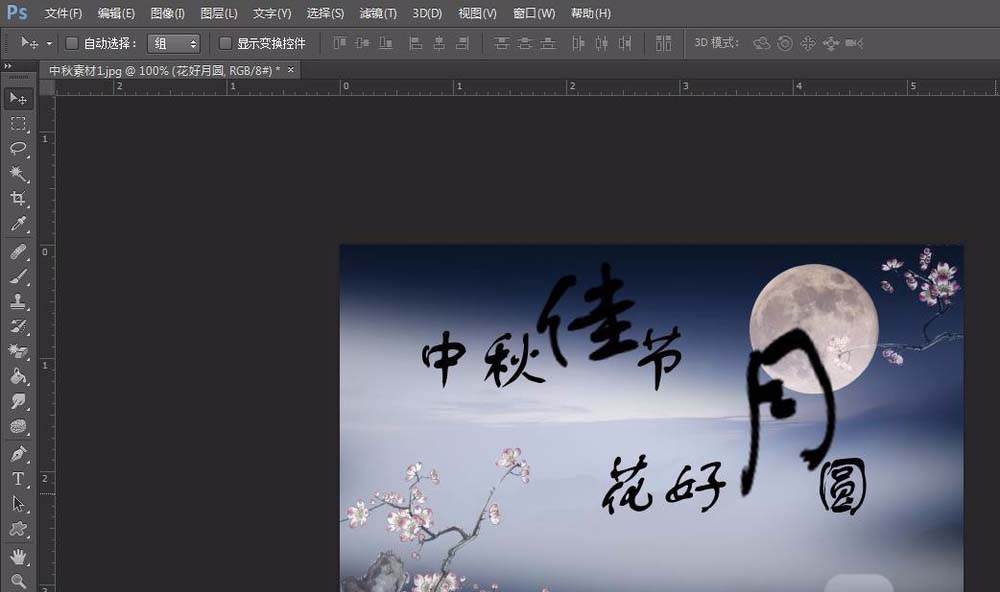
10、我们将图层样式设置为外发光,根据需要调节参数。
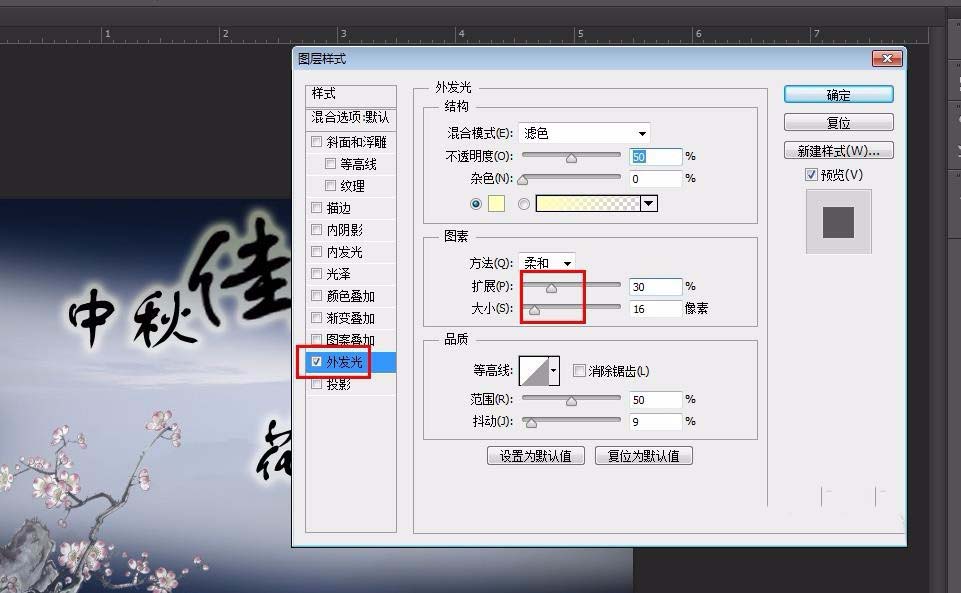
11、最终效果如下图所示。
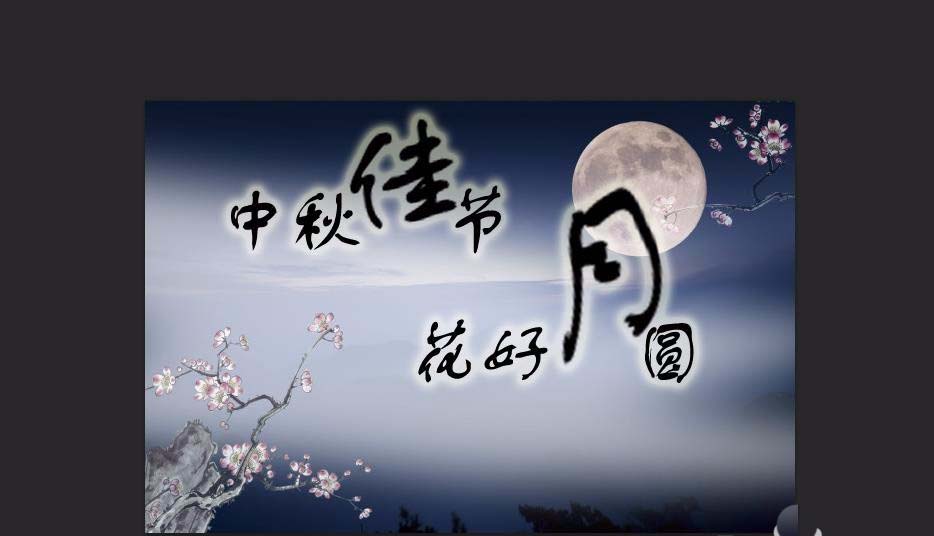
按照上文为大伙呈现的,相信大家应该都学会啦!
ps相关攻略推荐:


