Photoshop中使用再次变换功能的具体操作步骤
时间:2020-08-05 11:36:12 责任编辑:tintin

使用Photoshop的时候想要在其中在此变换功能,你们了解如何再次变换吗?下文就为你们带来了Photoshop中使用再次变换功能的具体操作步骤。

打开Photoshop软件,随便新建一个白色画布,
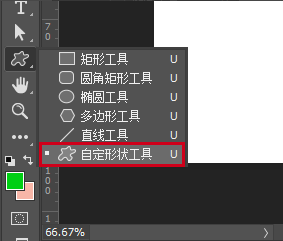
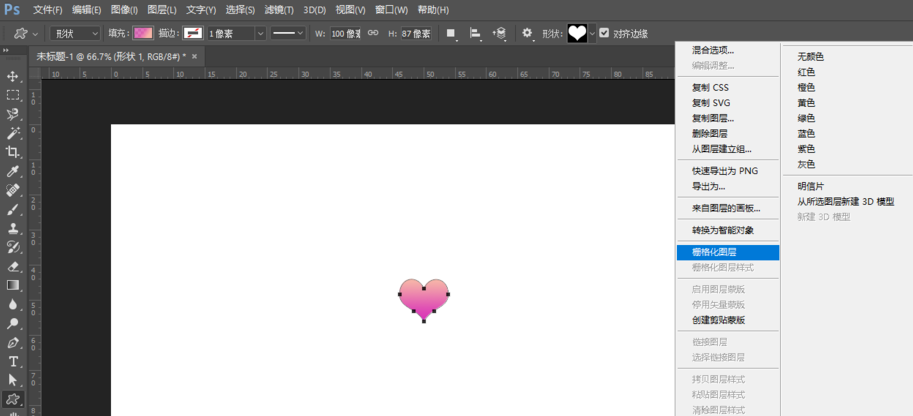
选择自定形状工具,在画布上画一个形状,
画好之后,将此形状栅格化,
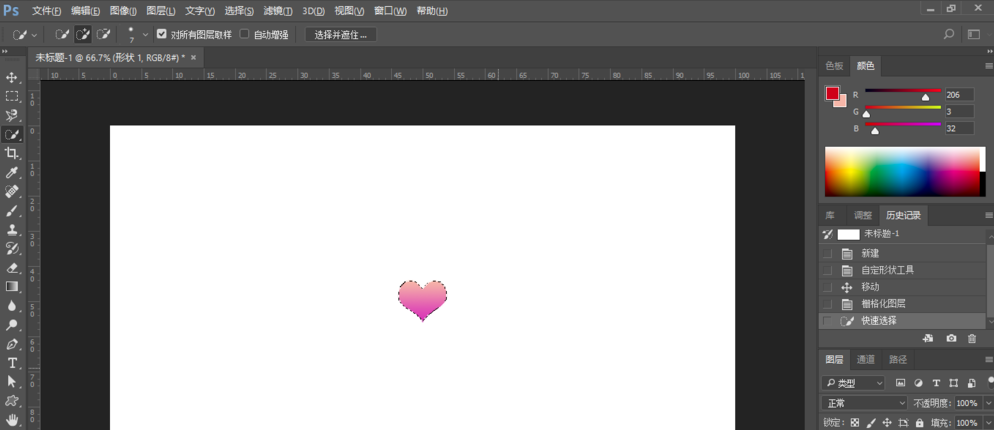
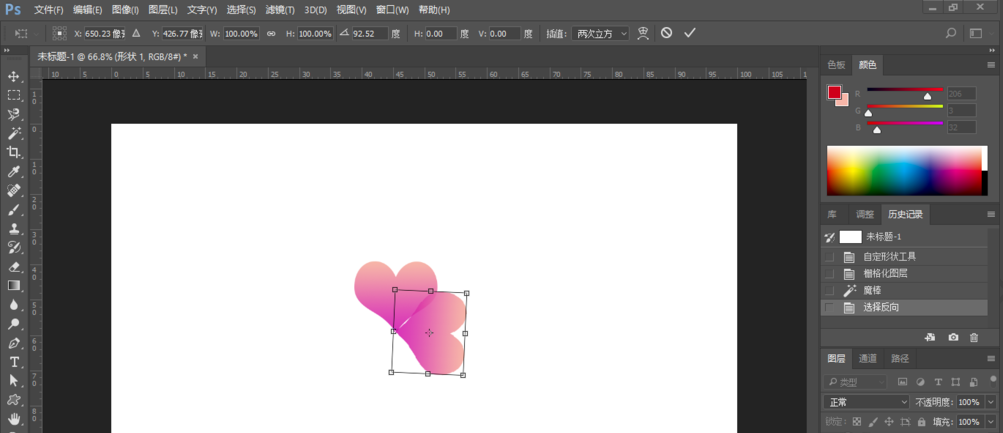
使用快速选择工具或者魔棒工具,将这个爱心形状的选区选出来,选中后按键盘上的Ctrl+T,
接下来对爱心进行变换,变换完成,按住键盘上的Ctrl+G、再按回车键,
接着就可以一直按键盘上的Ctrl+Shift+Alt+T,进行再次变换了。
看完了以上为你们分享的Photoshop中使用再次变换功能的具体操作步骤,你们是不是都明白啦!


