Photoshop中进行图片批处理的具体操作方法
时间:2020-08-05 11:36:00 责任编辑:tintin

收到Photoshop相信很多的用户都在使用,不过你们晓得Photoshop中如何进行图片批处理吗?下文就为大伙带来了Photoshop中进行图片批处理的具体操作方法。

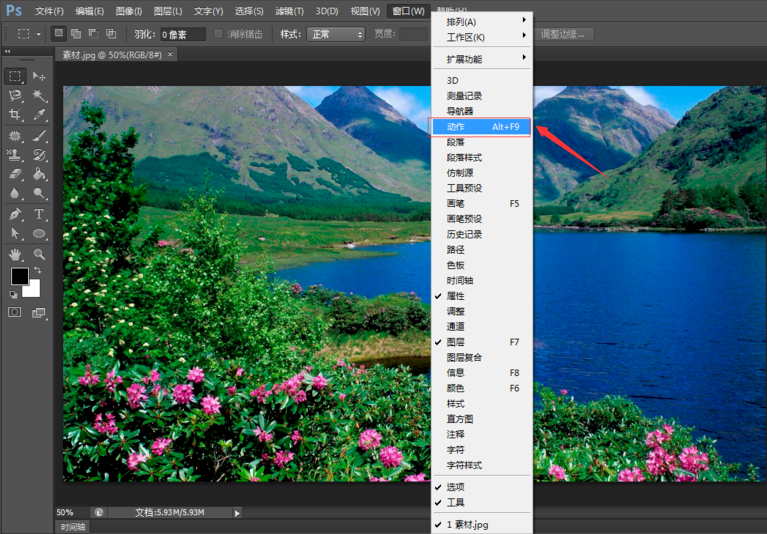
打开Photoshop软件,导入一张图片素材,点击菜单栏中的窗口——动作命令,打开动作面板,
新建动作1,点击记录,此时动作1开始记录,

再点击菜单栏的图像——模式——CMYK颜色命令,修改图片的颜色模式,

按住Ctrl+M调出曲线面板,调整曲线,点击确定,

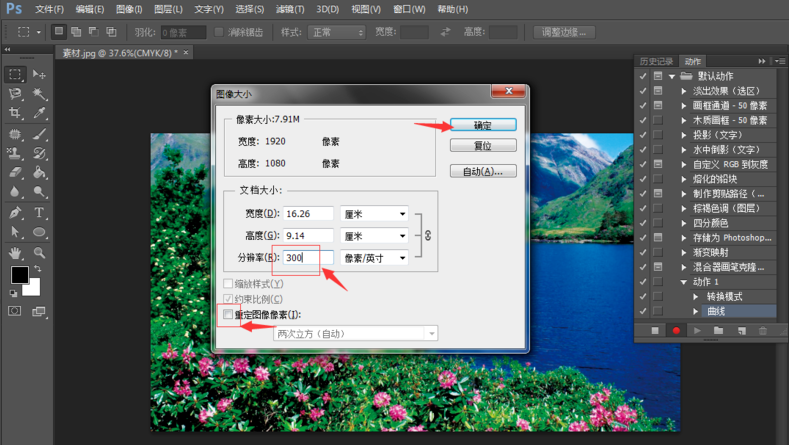
接着点击图像——图像大小命令,在弹出的窗口中取消勾选【重定图像像素】,设置分辨率为300,点击确定,
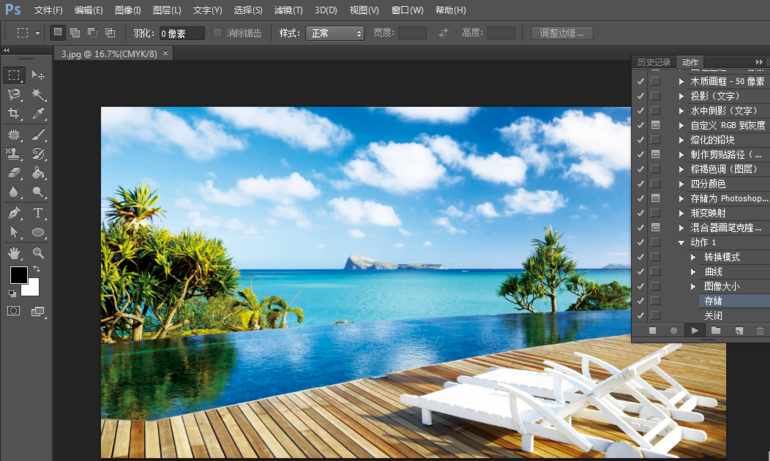
按住Ctrl+S储存文件,按trl+W关闭文件,我们可以发现动作面板中记录了以上动作。点击动作面板左下角的停止播放/记录图标,完成动作录制。

点击文件——自动——批处理命令,在弹出的面板中设置播放组、动作,然后选择需要进行批处理的图片的文件夹为源文件夹,设置目标为“存储并关闭”,点击确定,可以看到PS开始对待处理的图片一张一张地执行动作1。


待批处理命令结束后,打开待处理图片的文件夹,发现所有图片都完成了统一处理。
根据上文为你们分享的Photoshop中进行图片批处理的具体操作方法,你们是不是都明白啦!


